By: Cody Galloway, TULA Chief Experience Officer
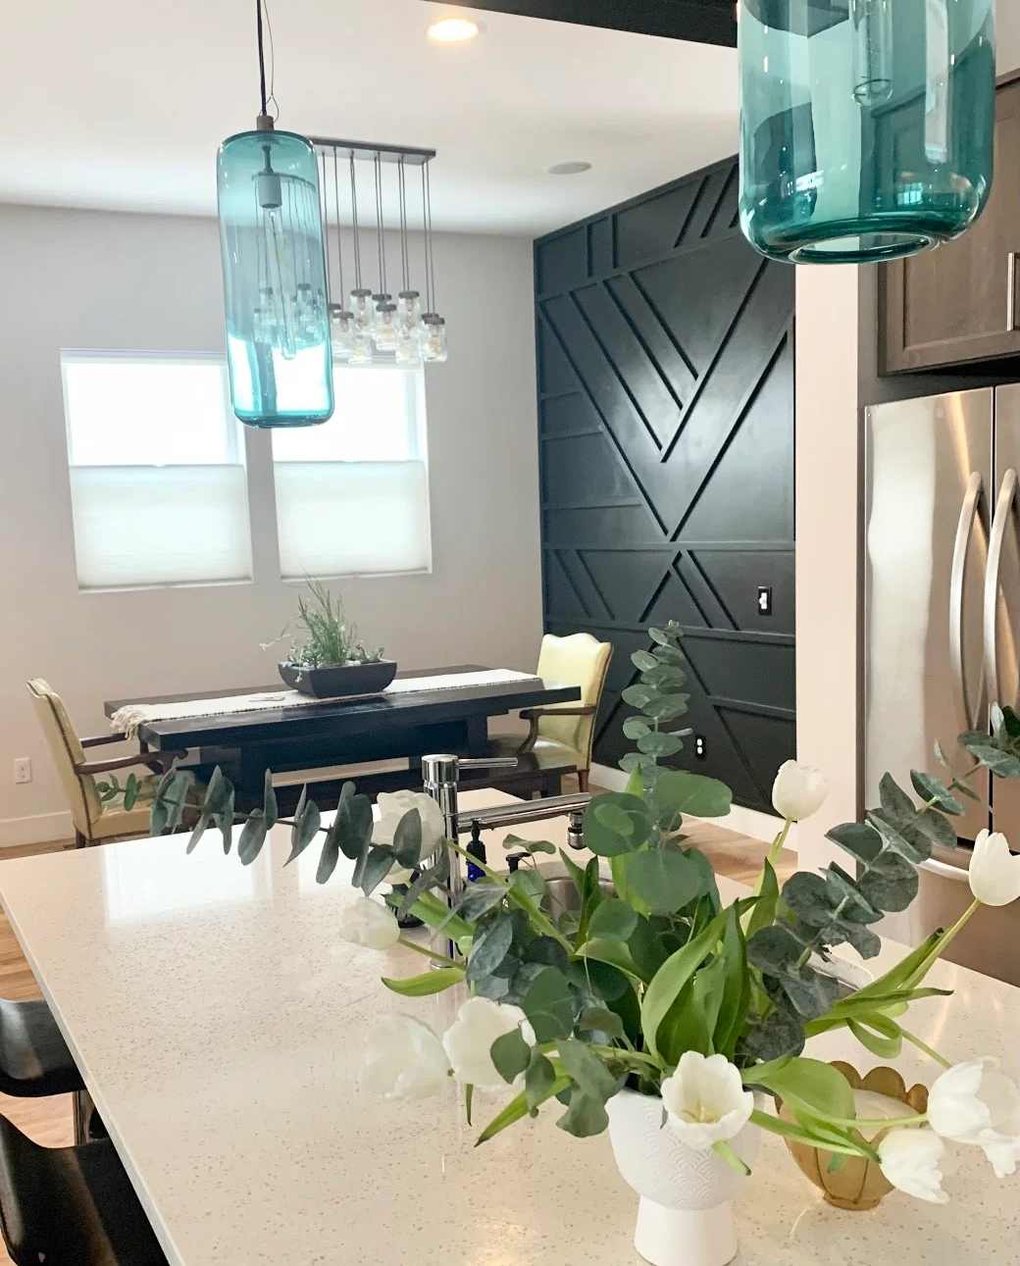
During this crazy pandemic era with lots and lots of home time- my brain has been spinning with all the home improvement projects that I feel like we now have the time to take on. Almost 10 months into that, and we've replaced LOTS of light fixtures, installed a kitchen backsplash, cleaned and organized every single closet and drawer in our house two times over, built an outdoor sauna and deck, hung lots art, replaced a dishwasher AND most recently undertook a focal wall transformation.
There are definitely buckets when it comes to home projects...there are those things we need to do (such as replace a broken dishwasher) and those that we WANT to do. This project definitely falls in the WANT bucket. It adds literally no functionality, there was not a need to 'fix' the wall in any way. I simply desired to change the look and feel of our dining area. The want bucket projects are definitely lower on my husband's priority list...fair, but chances are also good none of them will happen unless I just do literally everything myself. SO- needless to say, it took probably a solid year or so of convincing, but I finally got my handy husband to agree to help with this project. As those that know my husband well would attest- he tends to be an eeyore about most things in general...BUT after all was said and done with this project he said "that was kind of fun" (ok of course I already knew he would enjoy this project) but admitting it... that's BIG for him. So bottom line...if you have a boring wall, handy skillz or in my case a pretty handy husband, about one open day, and around $300 consider this project a GO.
As with many of these creative type projects- there are certainly more than one 'right' way to do them. By all means, use the same pattern, and paint color we did to achieve a similar look, but variations of this project using the same techniques would be super easy. You could definitely create a more classic look by creating a symmetrical grid pattern with the wood, or simply paint the wall white or a less intense shade- for a more subtle modern look. I highly recommend this project- as it was fun, somewhat easy, relatively inexpensive and we love the outcome!
Here’s what we did:
What you will need:
(*exact qty will depend on size of your wall, but to help reference, our wall is approximately 10’ ft x 14’ ft)
Equipment:
- Miter Saw (*as an alternative if you don’t have a miter saw, you could do it with a miter box and a hand saw- it would just be a little more laborious...but you got it!)
- Rollers
- Brushes
- Painters tape
- Masking tape
- Drop Cloth
- Hammer
- Level
- Tape Measure
- Pencil
Materials:
- Trim Board Primed Finger Joint (1 in x 2 in x 8 ft)
*We went through approximately 20 of these - Wood Putty
- Construction Adhesive
- Finish Nails
- 2 Gallons of Paint
(*we used a semi-gloss but would recommend potentially using an eggshell finish) - Rollers
- Brushes
- Hammer
- Level
- Tape Measure
- Pencil
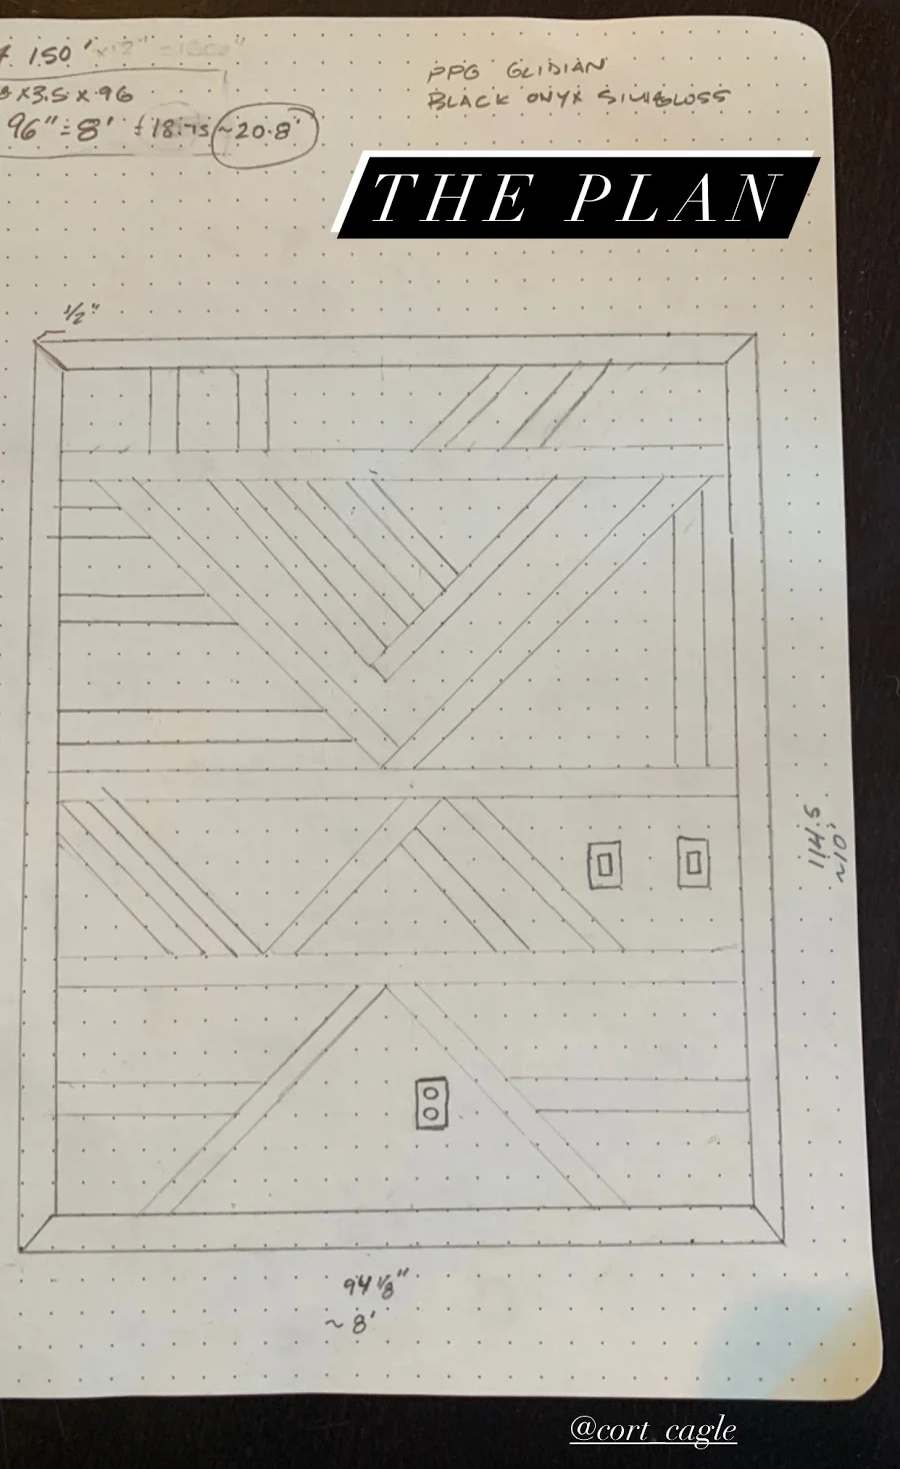
The Plan:
The Process:
1. We drafted a general plan … I think this can be fluid as you go too, but it was helpful to sort of map out the look we wanted to create and the lines involved. *Please note I drew a ton of inspiration for the wall design from another wall I had seen. I tried to share it here, but I cannot find the original post. I will update when I find the inspo wall picture!
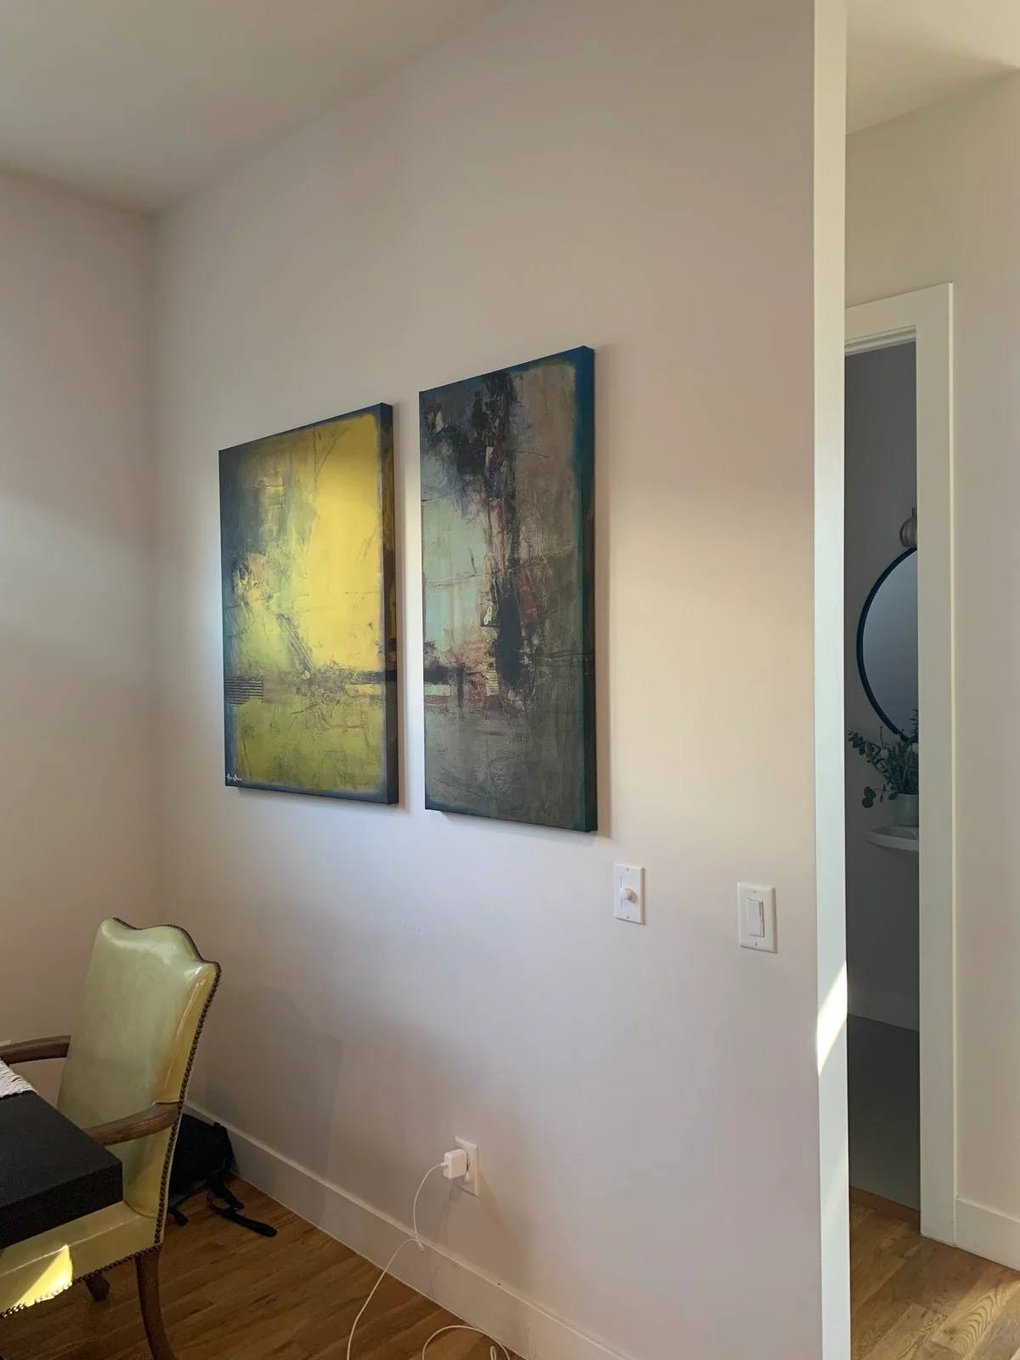
2. First we prepped the space. We took down the art we had up and filled in the holes on the wall. We taped the edges and put down the drop cloth.
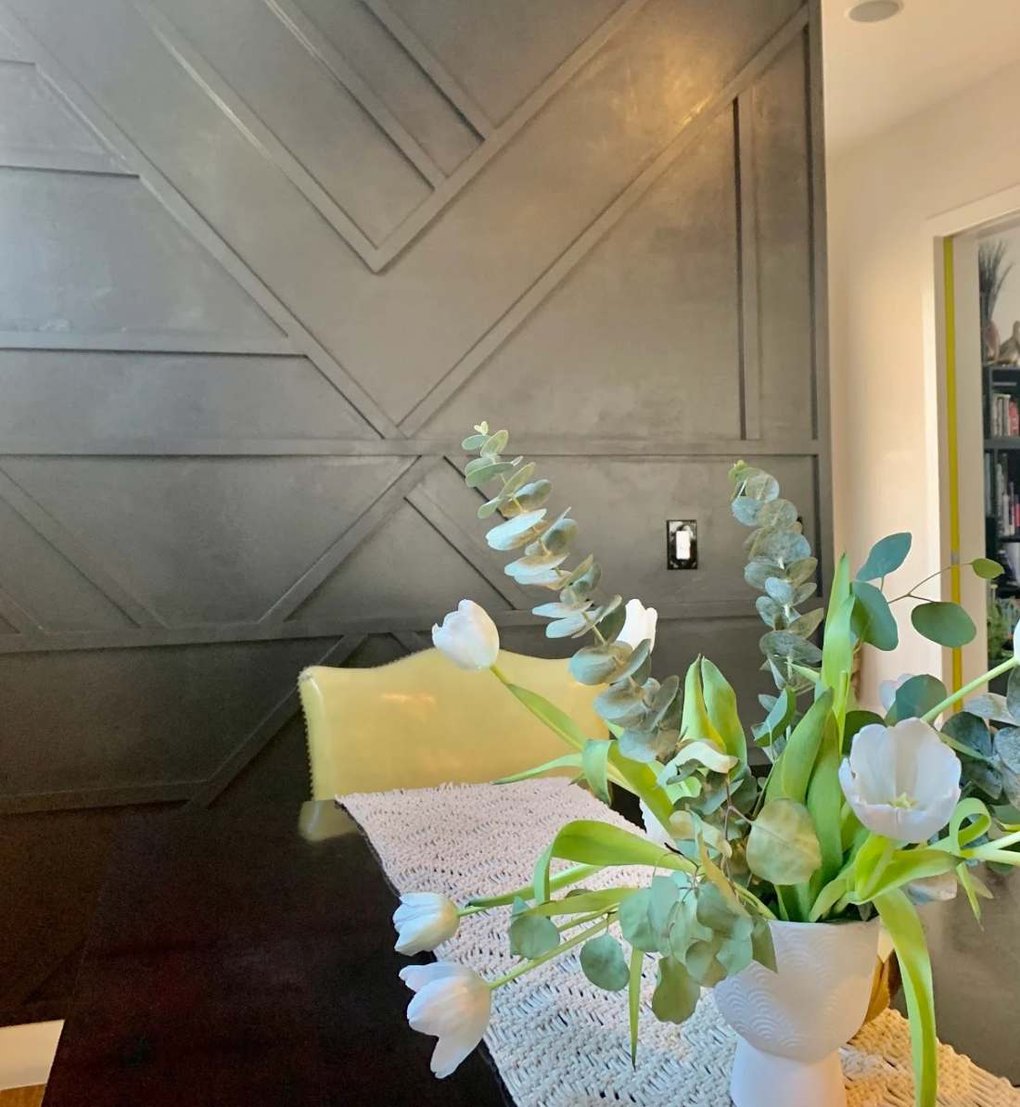
2. We painted the wall. We went with a semi gloss black onyx paint. In retrospect… we’d definitely choose to go with an eggshell or satin finish, as it was hard to get an even coat and to get it to lay out flat.
3. After we had a solid two coats on the wall, we measured and cut the boards to create a frame around the whole wall. While you don’t necessarily have to do this- I do think it helps define the wall as a piece of art, and overall creates a cleaner look.
4. TIP: Paint the boards and let them dry BEFORE putting them on the wall. This is super helpful for many reasons. It ensures you don’t miss any spots, it’s much easier to paint flat than to paint angles attached to a wall, and ultimately saves a lot of time with a lot less touch up needed. We did half of the boards like this, and then got impatient and put up the second half without painting first...which we later regretted.
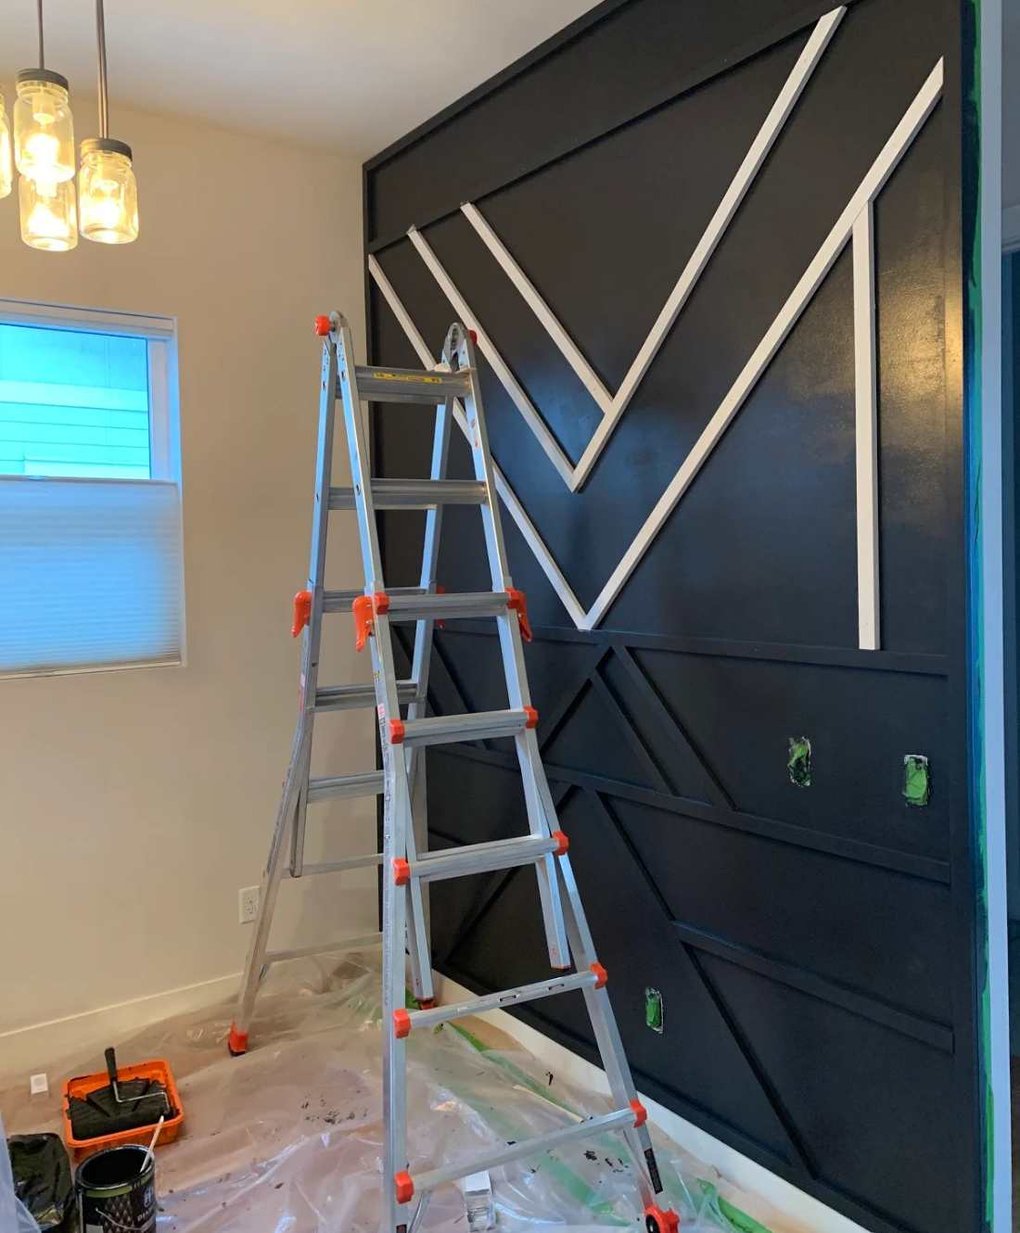
5. Use the Miter saw to create the cuts, we started with the bottom and worked our way up. We attached the two full length horizontal pieces on the bottom half first to help us scale the rest of the sections - using a level to ensure they were straight. *to be totally transparent we were not totally exact on this...in many cases we just sight measured and made pencil marks for where to cut. Shockingly I think we only ended up messing up 1 trim board. If you are choosing to do your own design…and want to go easy….straight cuts would definitely make this quite a bit easier.
6. Attaching the boards- we used construction adhesive (dapping a few spots along the boards) before pressing them against the wall and then finish nails to nail them in place. We forgot to use the adhesive in a couple spots- and when we hammered the rest of the boards in those would pop out from the vibrations. SO- definitely use the adhesive in addition to nails.
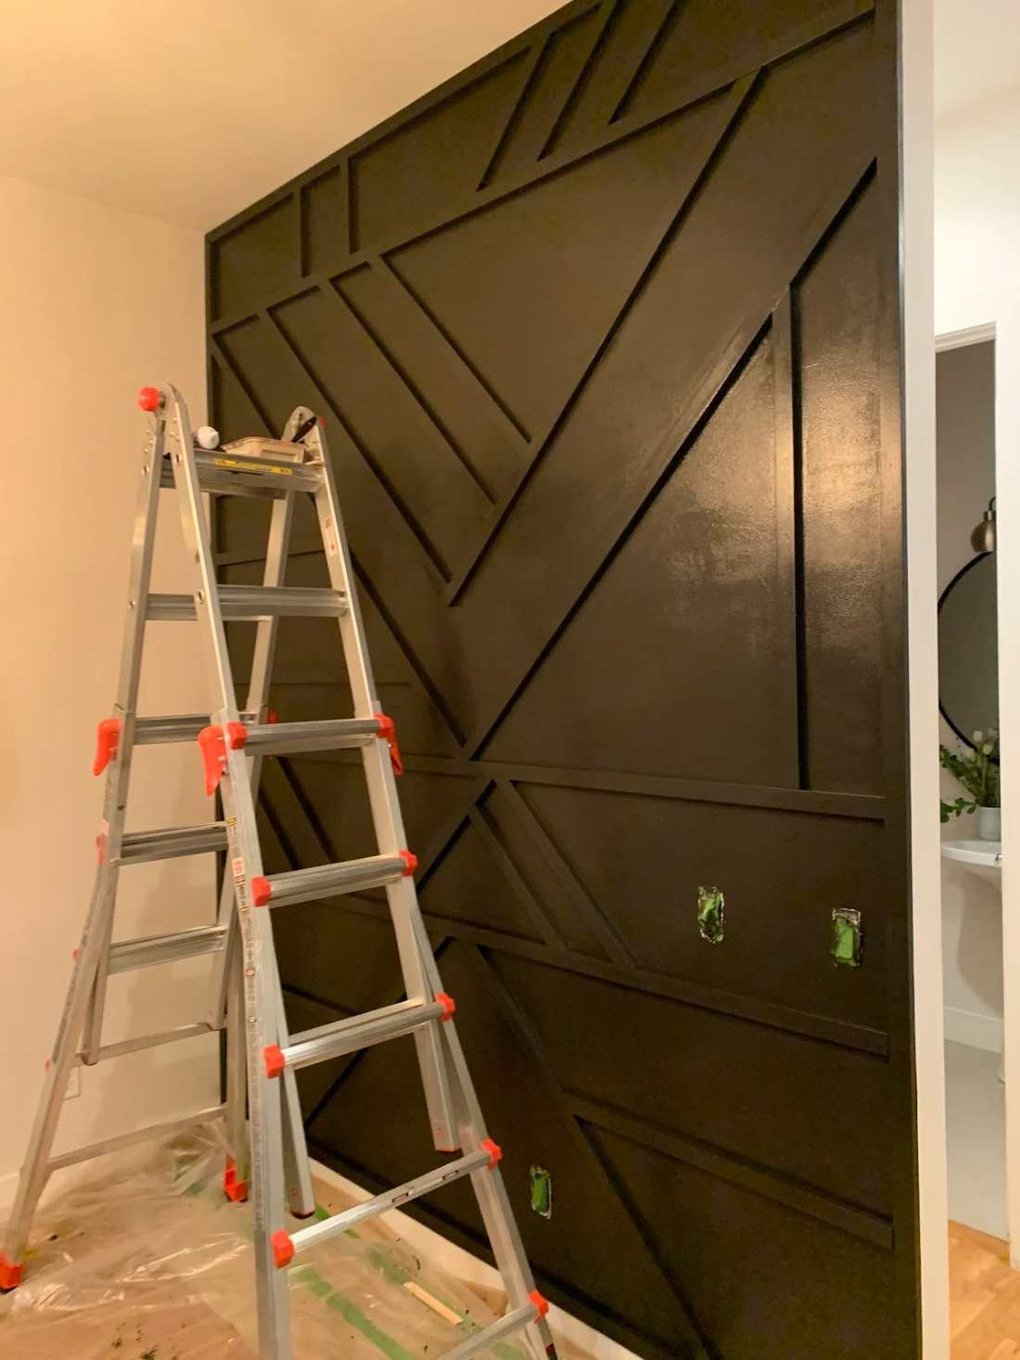
7. We used wood putty to fill in any tiny gaps between the boards, and then touched up with paint over nails etc.
8. Remove painters tape, and zoila! DONE- ZO.
Happy Creating Friends!